
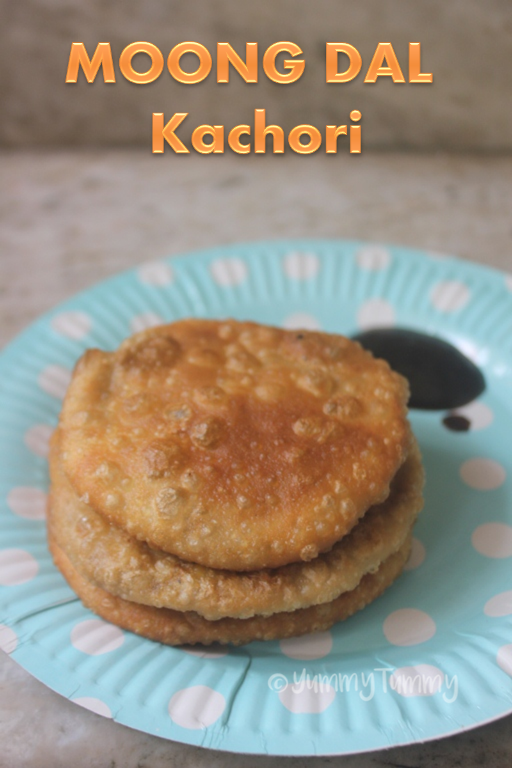
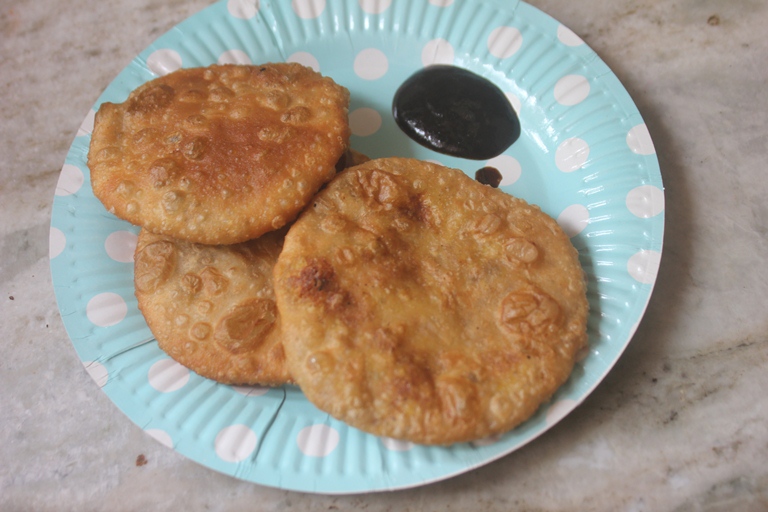
Moong Dal Kachori is a popular Indian snack that’s crispy, flaky on the outside, and stuffed with a tasty filling made from spiced yellow moong dal on the inside. It’s deep-fried to golden perfection and has that satisfying crunch when you bite into it, followed by a soft, flavorful center. This snack is loved all over India but is especially common in North Indian homes and sweet shops.
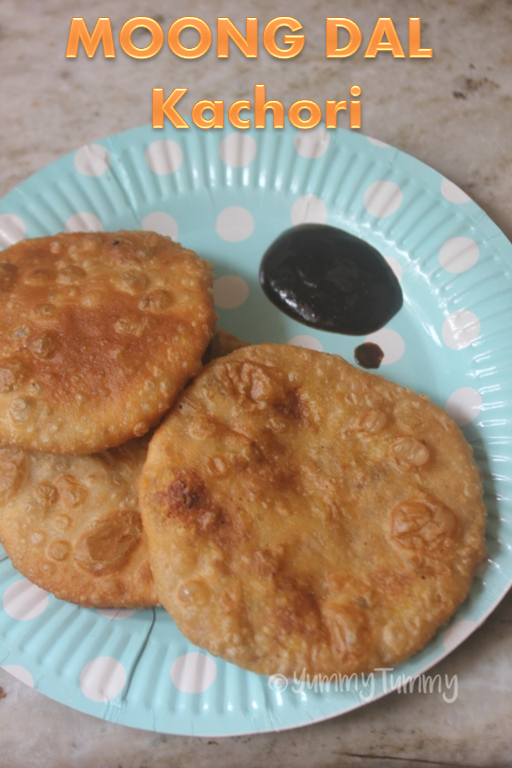
You’ll often find it being served during festivals like Diwali or Holi, or even just as a weekend treat with a hot cup of chai. Pair it with tamarind chutney or mint chutney, and you’ve got a snack that’s hard to resist. It’s great for when you want to make something a little more special whether you’re entertaining guests, packing something for a picnic, or just craving some good homemade comfort food.
")
Moong Dal Kachori Recipe
Khasta Kachori Recipe- Diwali Snack Recipes with step wise pictures. Super delicious stuffed moong dal kachori which not only taste amazing but is easy to make as well. This kachori makes a great breakfast option or snack for your kids.
Jump to:
This is the first time I am making kachori. I got so many request for making this delicious snack but now I feel terrible for not making this till now. Because it is one of the delicious thing I have ever had. The flakiness of the outer pastry with the sweet, tangy and spicy filling makes it so delicious. This can be had for breakfast or as a snack with a cup of chai.
About Kachori
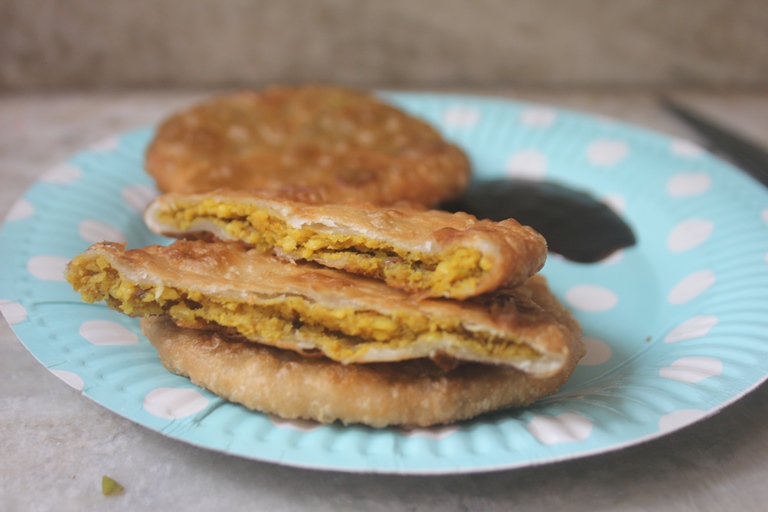
This kachori is made using two components: a dough prepared from all-purpose flour (maida) and a spicy filling made from yellow moong dal (split yellow lentils). The dal is soaked, coarsely ground, and then cooked with a blend of Indian spices. Once filled and shaped, the kachoris are deep-fried on a medium flame till golden and crisp.
What I love about this dish is how simple ingredients come together to create something so satisfying. The dough turns flaky when fried, and the filling thanks to a mix of ginger, green chillies, and aromatic spices offers a perfect balance of heat and tang. Making it at home gives you complete control over the spice level and freshness.
This recipe was actually my first time making kachori, and now I wonder why I waited so long! It turned out to be one of the most enjoyable kitchen experiments super tasty, super crunchy, and surprisingly not that hard.
Similar Recipes
Pottukadalai Murukku
Sooji Murukku
Ring Murukku
Oats Murukku
Garlic Murukku
Moongdal Murukku
Achu Murukku
Coconut Milk Murukku
Why This Recipe Works
Well-Balanced Flavors: The spice mix used in the filling is tried and tested. It has a good balance of warmth from cumin, a slight sweetness from fennel, and a tangy kick from amchur (dry mango powder). These spices come together nicely without overpowering each other, so every bite feels just right.
Flaky Outer Crust: Adding ghee or oil while making the dough and mixing it in well makes a big difference. It helps the outer layer turn out crisp and flaky (or “khasta”), which is exactly how a kachori should be.
Why I Like This Recipe – There’s something magical about how the spices especially cumin, fennel, and amchur start filling the kitchen with their aroma while you cook the dal. That smell alone brings back memories of festivals or rainy days when something special would be frying in the kitchen. And honestly, watching the kachoris puff up in hot oil is one of the most satisfying parts. It’s like the reward for all the prep. The crispy shell, the soft, flavorful filling it all comes together beautifully. Every bite is warm, comforting, and full of texture. It’s a snack that feels both nostalgic and totally worth the effort.
Right Texture for the Filling: The ground moong dal is cooked just enough so it becomes dry but not too hard. This helps the filling stay together and not get soggy or fall apart when you’re shaping or frying the kachoris.
Easy to Customize: This recipe is flexible. You can make it more or less spicy depending on your taste. If you’re making it for kids or a party, you can even make smaller, bite-sized versions. Another plus these kachoris freeze well, so you can prep ahead and fry them when needed.
Ingredients
All-Purpose Flour (Maida): This is the base for your kachori’s outer layer. It gives the crust that perfect balance of crispness and a little chew.
Ghee or Oil: This is mixed into the flour before adding water. It helps create a crumbly texture in the dough, which leads to that lovely flaky bite when fried.
Yellow moong dal: Soak it in water for about 2 to 3 hours until it softens a bit. It’s the main ingredient for the filling, gives a nice nutty texture and fills you up.
Ginger: Fresh ginger adds a warm, slightly spicy kick and helps with digestion too.
Green chillies (chopped): These bring the heat. You can adjust the number depending on how spicy you like your food.
Oil (plus more for frying): Use a bit for cooking the filling and the rest for deep frying the kachoris.
Cumin seeds: These are added to the hot oil at the beginning of cooking the filling; they release a warm, earthy aroma.
Asafoetida (Hing): Just a tiny pinch does the trick. It adds a deep, savory flavor and also helps with digesting the dal.
Spices – Red chili powder gives a nice red color and adds a gentle heat. coriander powder blends well with the other spices and adds a sort of rounded, warm flavor. turmeric powder adds a little bit is enough to bring a nice color and mild bitterness. fennel seed powder adds a slightly sweet and refreshing flavor, kind of a surprise when you bite into the kachori.
Cumin powder deepens the earthy tones in the filling. Cumin shows up twice in this recipe, and it’s worth it. Amchoor (dry mango) powder: This tangy spice gives the filling a slightly sour taste, which balances the richness of the dal and the spices. It really brings everything together.
Hacks
Prep Ahead When You Can: If you’re planning to make kachoris, soak the moong dal earlier in the day or even the night before. You can also prepare the filling ahead of time and keep it in the fridge it stays good for a couple of days. This really helps save time when you’re ready to actually make them.
Seal the Edges Properly: When stuffing the dough, take your time to press and seal the edges tightly. If the seal is loose or thin in spots, the filling can leak into the oil while frying and that’s something we definitely want to avoid.
Keep the Heat Medium: Kachoris need to cook slowly to get that perfect golden-brown color and khasta (flaky) texture. If the oil is too hot, they’ll brown quickly on the outside and stay raw inside. Too low, and they’ll just soak up oil. A steady medium flame is the sweet spot.
Use a Zip-Lock or Parchment Sheet to Flatten: Flattening the dough can sometimes get sticky or uneven. A simple trick is to place the dough ball between two sheets of parchment or in a zip-lock bag and gently press with a plate or rolling pin. It gives you an even disc and less mess on your hands.
Kachori (Step by Step Pictures)
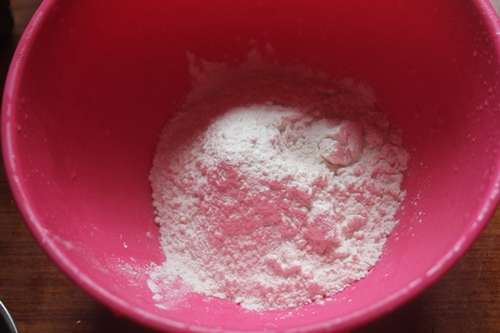
1)Make the dough first. Take flour in a bowl.
2)Add in salt.
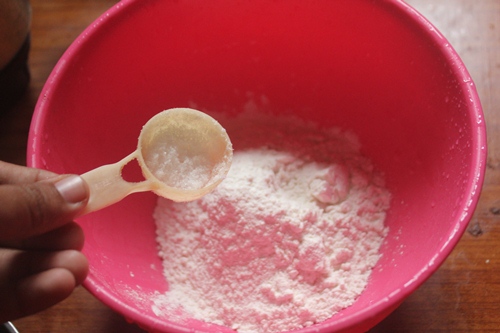
3)Add in oil or ghee

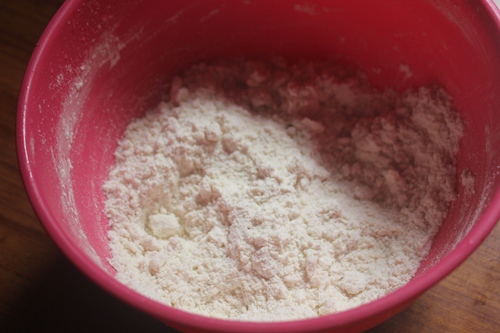
4)Rub it into the flour
5)Add water
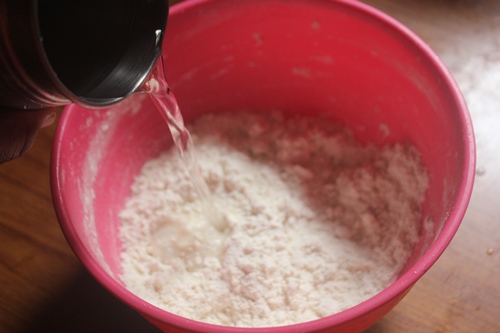
6)Knead to a soft dough

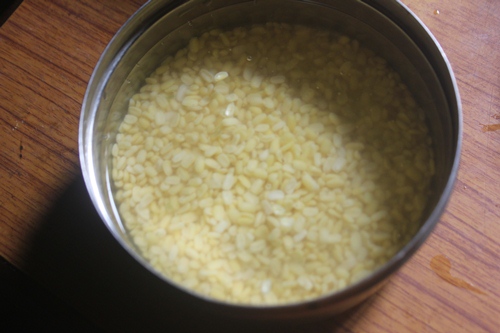
7)Soak moong dal in a bowl.
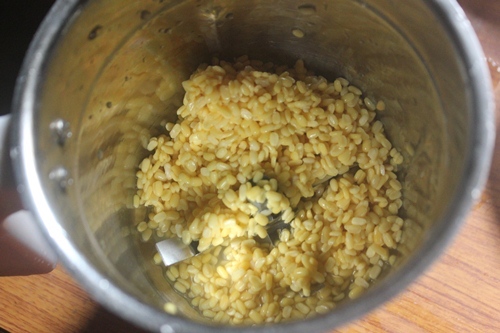
8)Drain and take them in a blender
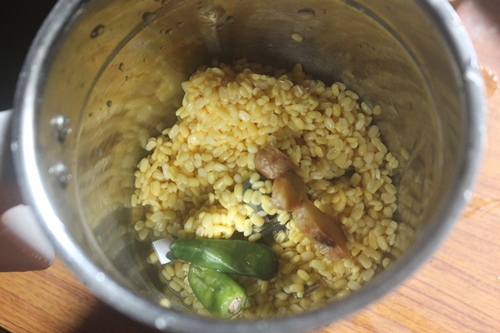
9)Add ginger and green chillies
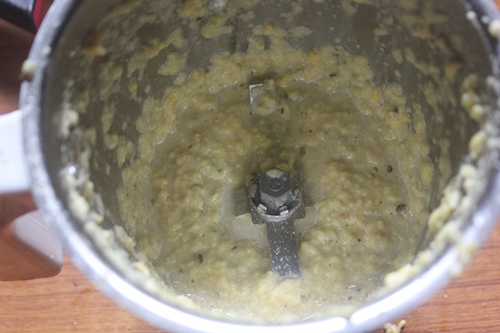
10)Grind to a smooth puree
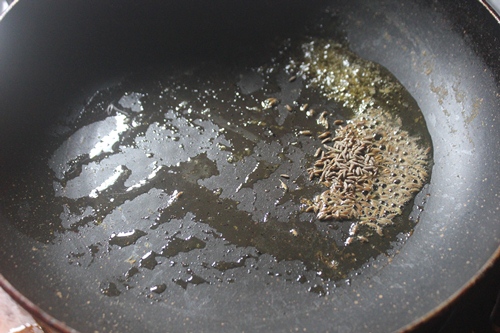
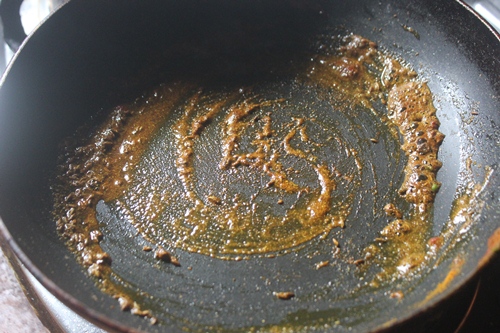
11)Heat oil in a pan. add cumin seeds
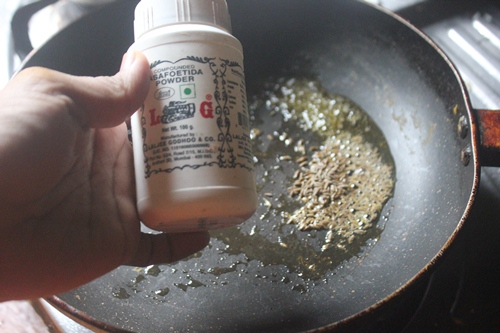
12)Add asafoeitida
13)Add spice powders
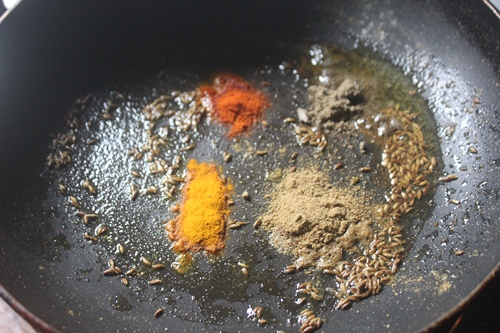
14)Stir fry for a min
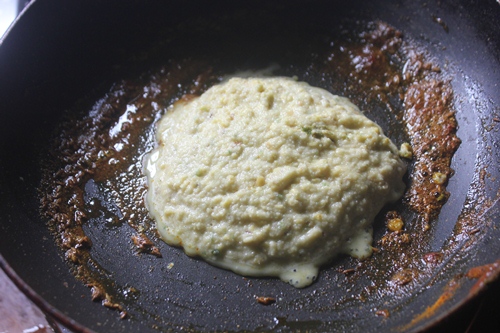
15)Add ground dal mix
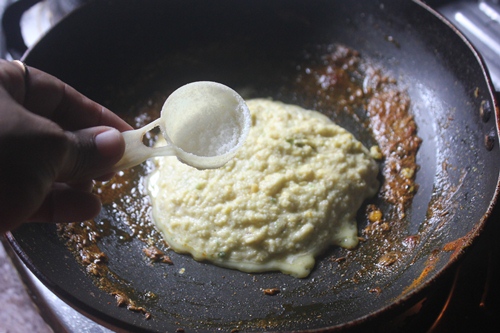
16)Add some salt to taste
17)Cook till it thickens and is done.
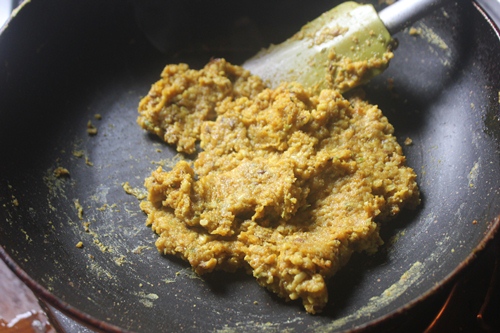
18)Add in amchoor and fennel seed powder
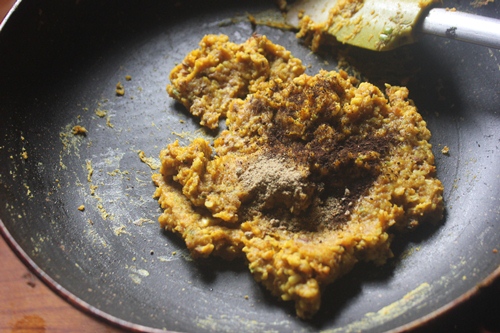
19)Mix well
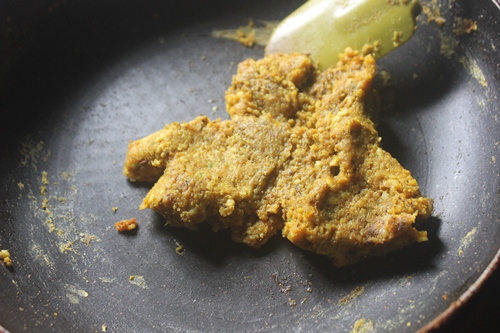
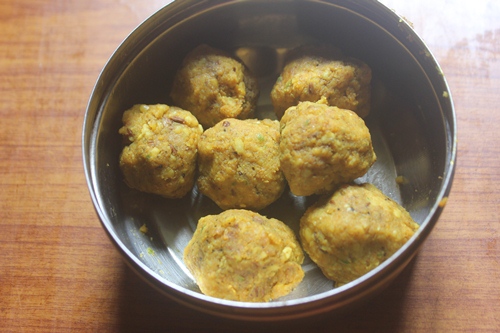
20)Shape it into equal balls
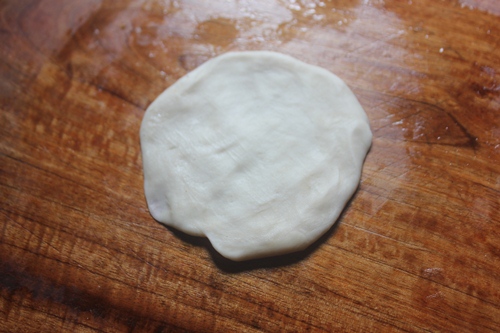
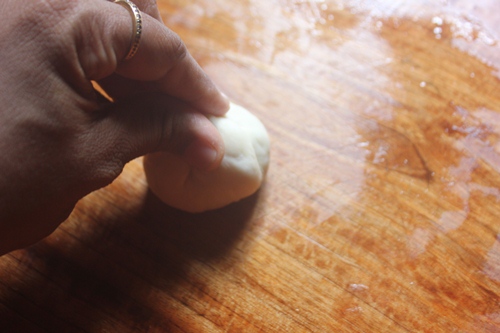
21)Take a ball, flatten it
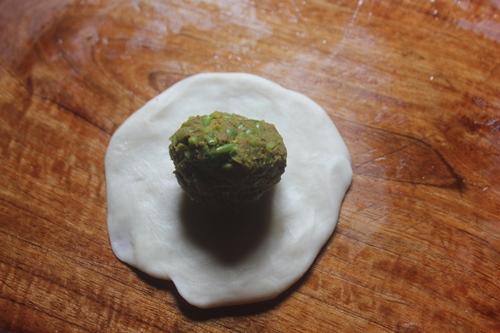
22)Place filling in
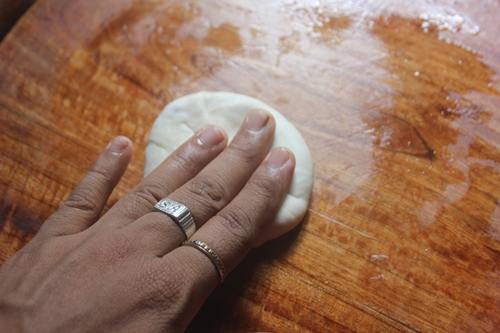
23)Seal the sides
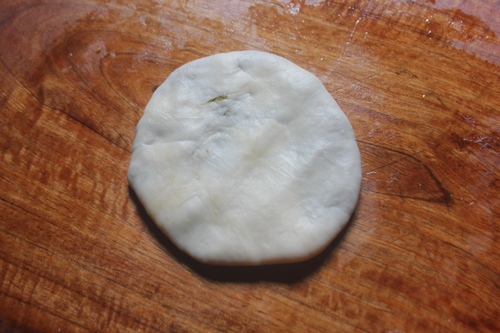
24)Flatten it
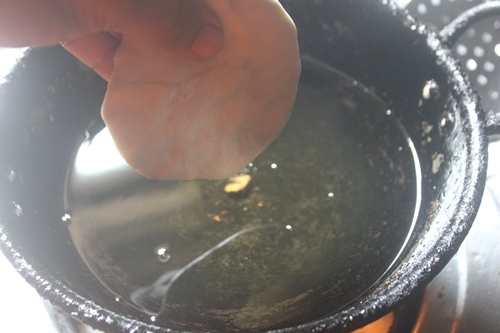
25)Time to fry
26)Deep fry till golden
27)Keep frying on medium heat
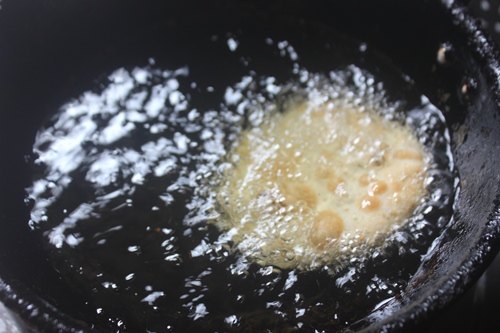
28)Fry them till golden

29)Drain them
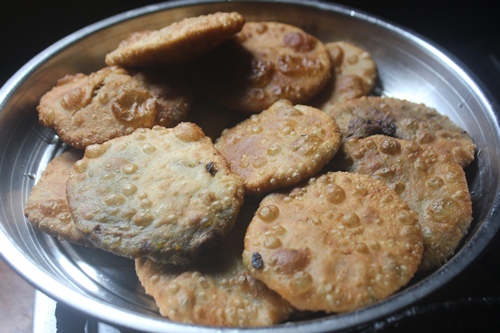
30)Serve
Expert Tips
Don’t Overfill the Dough: It can be tempting to pack in more filling, but it makes it harder to seal the edges properly. If not sealed well, the filling can leak out while frying, which gets messy.
Let the Dough Rest: After kneading, cover the dough and let it rest for at least 15–20 minutes. This helps relax the gluten, making the dough easier to roll out and improving the final texture of the crust.
Storage: If you have leftover kachoris, store them in an airtight container. They stay fine at room temperature for a day, but if you want to keep them longer, pop them in the fridge for 2–3 days. When reheating, avoid the microwave, as it can make them soggy. Instead, use an oven or a tawa (flat pan) on low flame—it brings back that crispiness without drying them out.
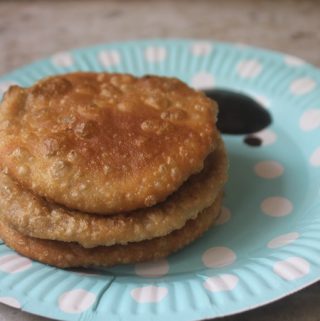
Serving Suggestions: Kachoris pair beautifully with tamarind chutney for a sweet-tangy kick or mint chutney for a fresh, herby taste. For something more filling, serve them with a simple potato curry—makes a great lunch or dinner. And of course, nothing beats enjoying a hot kachori with a cup of chai on the side. It’s comfort food at its best!
FAQ
Can I make this with urad dal instead of moong dal?
Yes, you can definitely use urad dal. Just keep in mind that it has a stronger, slightly earthier flavor compared to moong dal, which is milder and more commonly used for khasta kachoris. The result will still be tasty, just a bit different in taste and texture.
Can I bake these instead of frying?
Yes, baking is an option if you want to avoid deep frying. However, the kachoris won’t turn out as flaky or crispy as the fried ones. To help with that, brush them generously with oil and bake in a preheated oven at 180°C (350°F) until golden brown, flipping once halfway through for even cooking.
Can I freeze them for later?
Absolutely! You can shape and fill the kachoris, then place them on a tray and freeze until solid. Once frozen, store them in a ziplock bag or airtight container. When you’re ready to enjoy them, fry them directly from frozen just be sure to do it on a lower flame so they cook through evenly.
Variations
Spicy Twist: If you love your snacks with a little more kick, try adding some extra chopped green chillies or a small pinch of garam masala to the filling. It gives the kachori a nice heat that pairs really well with the flaky outer crust. You can also sprinkle a bit of crushed black pepper for that extra punch. Just remember to balance the spice level based on who you’re making it for!
Sweet Version: Want to switch things up for a festive mood? You can make a sweet version by skipping the dal and using a mixture of grated dry coconut, jaggery, and a pinch of cardamom powder instead. This filling is comforting and slightly chewy, with warm, sweet flavors that are perfect for celebrations or when you’re craving something different from the usual.
Mini Kachoris: These are a hit at parties or when you want something easy to pop into lunchboxes. Just make the kachoris smaller in size bite-sized ones cook faster and are super handy to serve. They look adorable on a platter and are perfect finger food for guests.
Herby Upgrade: Add some finely chopped coriander or mint leaves right into the dough before kneading. It gives the outer crust a light herby aroma and adds a bit of freshness with every bite. This small twist can make your kachoris feel even more special and homemade.
More Snack Recipes
📖 Recipe Card
Moong Dal Kachori Recipe – Khasta Kachori Recipe
Servings: 15 kachori
Calories: 92kcal
Equipment
Cooking pot
Blender
Deep Fry Kadai
Instructions
Pre-preparation : First, I soak 1 cup of yellow moong dal in water for 2-3 hours. Meanwhile, prepare the dough by mixing 1 cup of maida with 2 tablespoons of ghee and a pinch of salt. rub the ghee into the flour until it resembles breadcrumbs. Then, slowly add water and knead a soft, smooth dough. Once done, cover it with a damp cloth and let it rest for about 30 minutes.
Making the Filling: After soaking, drain the dal and grind it along with chopped ginger and green chillies into a slightly coarse paste. Then, heat a tablespoon of oil in a pan, add cumin seeds and let them crackle. In goes a pinch of hing, followed by the dry spice powders chilli, coriander, turmeric, and cumin powder. sauté this for a minute before adding the ground dal paste. Cook it down on medium heat, stirring often, till it thickens and starts leaving the sides of the pan. Finally, add fennel seed powder and amchoor. Once mixed well, let it cool, then roll the filling into small balls.
Filling and Frying: Now comes the fun part! take small portions of dough, roll them out a bit, place the filling inside, and pinch the edges to seal. Then flatten them gently and get ready to fry. In a deep kadai, heat oil on medium flame. Once hot, carefully drop in a few kachoris and fry them till golden brown. Flip them gently to ensure even cooking. Once done, I drain them on kitchen paper.
Notes
Nutrition
Serving: 1servings | Calories: 92kcal | Carbohydrates: 15g | Protein: 4g | Fat: 1g | Saturated Fat: 0.1g | Polyunsaturated Fat: 0.4g | Monounsaturated Fat: 1g | Trans Fat: 0.005g | Sodium: 163mg | Potassium: 24mg | Fiber: 2g | Sugar: 0.4g | Vitamin A: 70IU | Vitamin C: 0.1mg | Calcium: 12mg | Iron: 1mg
If you have any questions not covered in this post and if you need help, leave me a comment or mail me @[email protected] and I’ll help as soon as I can.
Follow me on Instagram, Facebook,Pinterest ,Youtube for more Yummy Tummy inspiration.
IF YOU MAKE THIS RECIPE OR ANYTHING FROM YUMMY TUMMY, MAKE SURE TO POST IT AND TAG ME SO I CAN SEE ALL OF YOUR CREATIONS!! #YUMMYTUMMYAARTHI AND @YUMMYTUMMYAARTHI ON INSTAGRAM!
About Aarthi
Reader Interactions

Source link